Gazing up at the night sky reveals a tapestry of twinkling stars, each a distant sun, illuminating the vast canvas of the universe.
This celestial realm, filled with galaxies, planets, and nebulae, has intrigued humans for centuries. The invention of the telescope transformed our connection with the cosmos, serving as a bridge across the light-years, bringing these distant wonders within our sight.
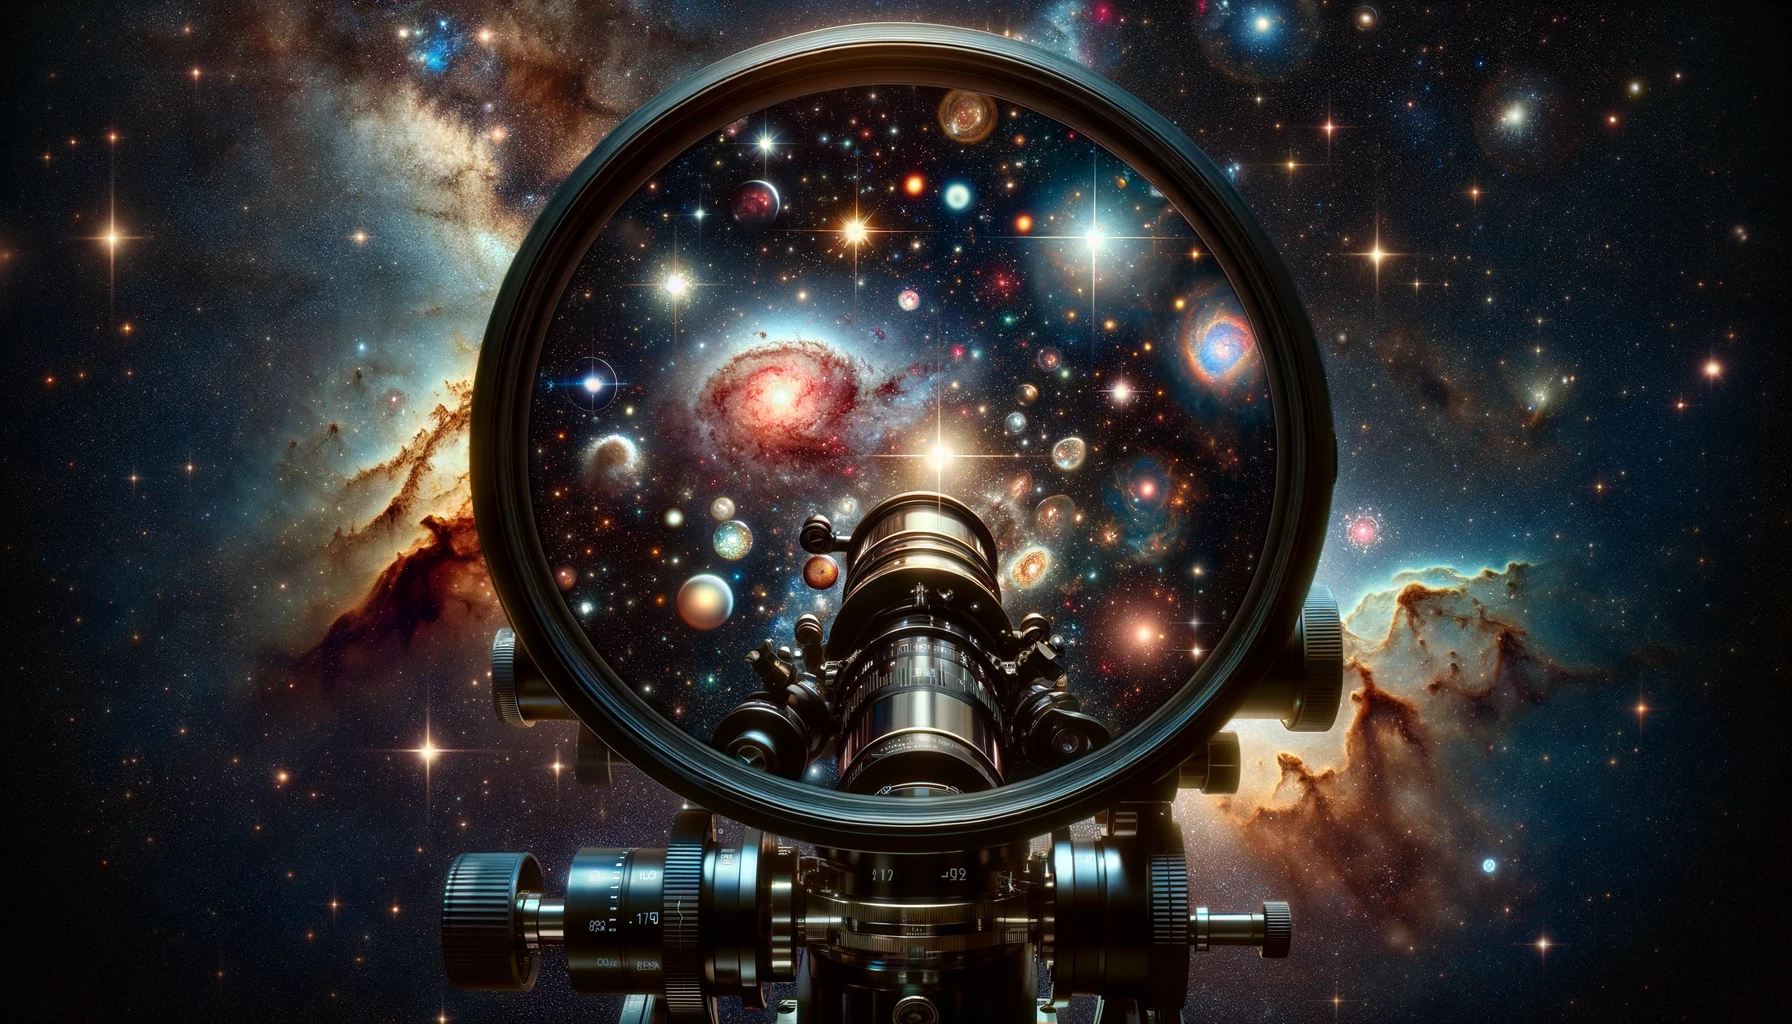
Through the lens of a telescope, what once were mere specks of light unfold into their worlds, each with stories to tell.
The magic of telescopes lies in their ability to magnify and their power to bring the universe closer, making distant stars feel almost within reach.
Types Of Telescopes For Star Observation
Refractor telescopes, the oldest design, use lenses to bend (refract) light to a focal point. They are known for their sharp, high-contrast images, making them excellent for observing the moon and planets.
Their enclosed tube design means less maintenance, but they can be more expensive and heavier, especially at larger sizes.
Reflector telescopes, on the other hand, utilize mirrors to reflect light and form an image. This design allows for larger apertures at a lower cost, making reflectors ideal for deep-sky observing, where gathering more light from faint galaxies and nebulae is crucial.
Compound telescopes, or catadioptrics, combine lenses and mirrors to offer a compact and versatile option. These telescopes provide good image quality and are suitable for a wide range of celestial objects.
What To Expect When Viewing Stars Through A Telescope?
When peering through a telescope for the first time, many beginners might expect to see stars as detailed celestial bodies, similar to how planets or the moon appear. However, even the most powerful telescopes present stars as tiny points of light.
This is due to their immense distance from us; stars are so far away that, despite their actual size, they appear as mere pinpricks in the night sky.
This doesn't make observing stars any less fascinating, as the real magic lies in their color and brightness, which tell tales of their temperature, age, and composition.
Stars twinkle in a palette of colors—from the deep blues and whites of hotter stars to the yellows and reds of cooler ones. This variety in color results from differences in surface temperature, with blue stars being the most desirable and red stars the coolest.
Choosing The Right Telescope For Beginners
Key considerations include price, ease of use, and portability, each pivotal role in your stargazing experience.
Price is often the starting point for many. While choosing the cheapest option is tempting, investing more can significantly enhance your viewing experience.
However, you don't need to break the bank; many mid-range telescopes offer excellent quality without being prohibitively expensive.
Ease of use is crucial for beginners. Telescopes that are straightforward to set up and operate can make your initial stargazing sessions more satisfying.
Refractor telescopes, for instance, are known for their simplicity and low maintenance, making them an excellent choice for novices.
Portability matters if you plan to travel to dark-sky locations for clearer views. Smaller refractors and compact compound telescopes are ideal for mobility, fitting easily into a car and being relatively light to carry.
The Best Conditions For Stargazing
The enchantment of stargazing is profoundly influenced by your environment and the conditions under which you observe the night sky. Dark skies free of light pollution are paramount for an optimal stargazing experience.
Light pollution emanating from streetlights, buildings, and other urban sources significantly dims the splendor of celestial objects, obscuring all but the brightest stars from view.
Seeking out locations away from city lights, such as dark sky parks or rural areas, can dramatically enhance the visibility of galaxies, nebulae, and meteor showers, revealing a universe that city dwellers rarely see.
Setting Up Your Telescope For Star Observation
Setting up your telescope for the first time may seem daunting, but following a step-by-step guide will make it pretty straightforward. Here's a simplified process to get you started on your star observation journey:
Assemble the Telescope Stand or Tripod
Start by setting up the telescope's stand or tripod. Ensure it's on stable ground and fully extended to a height that will be comfortable for viewing. Tighten all the knobs and locks to secure its position.
Attach the Telescope Tube
Carefully mount the telescope tube onto the stand or tripod. If your telescope has a dovetail bar, it will slide into a matching slot on the mount. Secure it using the locking screws or clamps provided, but don't over-tighten.
Install the Finderscope
The finderscope is a small, low-magnification scope mounted on the main telescope tube. It helps you locate objects in the sky more readily. Attach it to the designated bracket on the main tube and tighten the screws lightly so it stays in place.
Insert the Eyepiece
Start with a low-power eyepiece with a higher number written on it (e.g., 25mm). Insert it into the focuser at the end of the telescope tube and secure it by tightening the set screw gently.
Align the Finderscope (During Daytime)
Before you begin observing at night, align your finderscope during the day. Using the main tube, point your telescope at a distant object (like a tree or a building). Once centered, adjust the finderscope until the same object is centered in its view. This step makes nighttime alignment on celestial objects much more straightforward.
Pointing Your Telescope
Select a bright object like the moon or a prominent planet as night descends. Loosen the azimuth (horizontal) and altitude (vertical) locks on your mount, then manually move the telescope until the object is in the rough vicinity of your finderscope's view.
Fine-Tuning and Focusing
Look through the finderscope and use its crosshairs to center the object. Once centered, switch to the main telescope's view. Use the focuser knob to sharpen the image until it becomes clear. If the object moves out of view quickly, you may need to adjust the mount's tension or tracking.
Exploring the Stars
With your telescope set up and focused, you're ready to explore. Start with brighter objects to gain confidence. Over time, you can switch to higher magnification eyepieces (lower number) to see more detail.
How To Find And Identify Major Stars And Constellations?
Embarking on a journey to find and identify significant stars and constellations is like unlocking a map to the ancient stories written in the night sky. For beginners, the task might seem as vast as the cosmos itself, but with the right tools and guidance, you'll soon easily navigate the celestial sphere.
Start with the Basics
Begin your stargazing adventure by familiarizing yourself with the most prominent constellations visible from your location and the current season. The Big Dipper (part of Ursa Major), Orion, and Cassiopeia are excellent starting points due to their distinct shapes and brightness.
Use Star Maps
Star maps, also known as planispheres, are rotating maps that allow you to dial in the date and time to see which constellations will be visible.
Start by setting your star map for your specific date and time, and hold it up towards the sky, aligning it with the cardinal directions marked on the map.
This traditional method offers a hands-on way to learn the night sky's layout and develop your navigational skills.
Embrace Technology
Smartphone apps have revolutionized how we explore the night sky. Apps like SkyView, Star Walk, and Stellarium use your phone's GPS to accurately pinpoint your location and display a real-time map of the stars and constellations overhead.
Pointing your phone at the sky will lead you from one celestial object to another, offering names, details, and mythology associated with the stars and constellations you're viewing.
Learn the Sky's Landmarks
Identifying a few critical stars and asterisms (star patterns that aren't entire constellations) can serve as landmarks to guide you.
For example, finding the North Star (Polaris), almost directly above the North Pole, can help you orient yourself. You can use known patterns to "hop" from one constellation to another.
Follow the Seasons
The night sky changes with the seasons due to Earth's orbit around the Sun. Keeping track of seasonal constellations can be both a practical way to orient yourself and a delightful journey through the year's rhythms. For instance, look for Scorpius in the summer sky or Orion in winter.
Photographing Stars Through A Telescope
Equip Yourself
These adapters securely attach your smartphone to the telescope's eyepiece, aligning the camera lens with the telescope's optical path. They're affordable and widely available. A basic DSLR or mirrorless camera offers more control over exposure settings, which is crucial for astrophotography. Even point-and-shoot cameras with manual settings can be used effectively.
Start with the Moon
The moon is an ideal first subject due to its brightness and the detail it offers. Experiment with different phases of the moon to capture its craters and seas.
Focus on Stability
Ensure your telescope is on a stable mount to avoid vibrations that can blur your images. If using a camera, a remote shutter release or the camera's built-in timer minimizes shaking when taking a photo.
Experiment with Settings
Use camera apps that allow you to manually adjust settings like ISO, exposure time, and focus for greater control over your night sky photos. Set your camera to manual mode. Begin with a high ISO setting (around 1600) and a wide aperture (the lowest f-number your lens allows), and experiment with exposure times.
Tips For A Successful Stargazing Experience
Allow Your Eyes to Adjust: It takes about 20-30 minutes for your eyes to fully adapt to the dark and significantly improve your night vision. Avoid looking at bright lights, such as phone screens, as this can reset the adaptation process.
Use Red Light: If you need to see your surroundings or read a star map, use a flashlight with a red filter or LED. Red light preserves night vision better than white or blue light.
Start with Easy Targets: Begin with the moon, bright planets, or prominent constellations, and gradually work to more challenging objects.
Regular Telescope Maintenance: Keep your telescope's optics clean and aligned for the best viewing experience. Regularly check for dust on the lenses or mirrors and follow the manufacturer's instructions for cleaning and maintenance.
Keep a Log: Document your observations with notes or sketches. This enhances your experience and helps you track your progress and discoveries.
FAQs
What Can I Realistically Expect To See With A Beginner Telescope?
You can expect to see the moon's craters, the rings of Saturn, Jupiter's major moons, bright nebulae, star clusters, and even galaxies under dark skies.
How Does Light Pollution Affect My Ability To See Stars And Planets?
Light pollution significantly reduces the visibility of faint stars and celestial objects, leaving only the brightest stars visible and diminishing details in nebulae and galaxies.
How Long Does It Take For My Eyes To Adjust To The Dark, And How Can I Maintain Night Vision?
It takes 20-30 minutes for your eyes to adjust fully to the dark. To maintain night vision, use red lights for any necessary illumination and avoid looking at bright lights like your phone screen.
Is It Necessary To Travel To A Dark Site For Stargazing, Or Can I Observe From My Backyard?
While not strictly necessary, traveling to a dark site significantly enhances the visibility of faint celestial objects. Observing from your backyard is still possible, especially for viewing the moon, planets, and the brightest stars.
What Maintenance Does My Telescope Need?
Regular maintenance include
- Keeping the optics clean and dust-free.
- Ensuring all moving parts function smoothly.
- Occasionally collimating (aligning) the mirrors if you have a reflector telescope.
Can I Take Pictures Of The Stars Through A Telescope With My Smartphone?
With a smartphone adapter for your telescope, you can capture photos of the moon, planets, and even bright, deep-sky objects by aligning your phone's camera with the telescope's eyepiece.
Conclusion
Exploring the cosmos through a telescope offers a unique and profound connection to the universe, revealing the intricate details of celestial objects that dot the night sky.
From the earliest refractor telescopes to modern reflectors and compound designs, each type of telescope has its strengths, catering to different aspects of stargazing and astrophotography.
Whether observing the colorful twinkle of distant stars, the craters of the moon, or the majestic rings of Saturn, the experience is always one of awe and wonder.
The choice of telescope—be it a refractor for its ease of use and maintenance, a reflector for its deep-sky capabilities, or a compound telescope for its versatility—plays a crucial role in what and how we observe.